在上一篇有提到 Android-Bluetooth Low Energy(BLE) 基本操作( 一 )
每種BLE裝置都有它自己的功能
現在我們就針對他的功能做延伸
在官方有簡單的 Sample
------ 以下尚未整理
( 如果有任何錯誤,請別吝嗇,歡迎留言討論 )
不過我們還是要從最基本的開始
BLE有分 主、從方
/*
BLE 最主要是看他的 Profile 我的才能進行下去
何謂的 Bluetooth Profile?
他是對藍芽裝置的一個說明、用途。
*/
所以此功能....(等待更改)
1 . 判斷裝置是否支援BLE
2 . 判斷裝置是否開啟BLE
3 . 掃描BLE周邊
4 . 連線到指定 MAC
參考資料 : Android 讀取低功耗藍牙(BLE)程式初探
參考資料 : Android Ble简析
參考資料 : Android的BLE通信实现
參考資料 : Android BLE 蓝牙低功耗教程,中央BluetoothGatt和周边BluetoothGattServer的实现
參考資料 : Android 4.3 BLE how to write Characteristic
參考資料 : Android蓝牙BLE开发步骤
歡迎轉載,請註明出處。
2015年9月14日 星期一

2015年9月9日 星期三
Android-設定更換背景漸層顏色( Change BackgroundColor Gradient)
常常有人問背景只能設定單一色調嗎?
答案是否定的
以下有 Sample 提供各位參考
首先在 drawable 底下創立相關文件

Gradient 漸層
startColor : 起始顏色
centerColor : 中間顏色
endColor : 結束顏色
angle : 頭尾( 建議 45 度為單位 )
( EX : 90 : 下到上 )
gradient_1.xml
gradient_2.xml
activity_main.xml
MainActivity.java
有朋友說為什麼不用
1 . BackgroundDrawable - 不建議使用
2 . Background - 最低版本為 : API 16
------------------------------------------------
完成圖 :
gradient_1

gradient_2
如果有關顏色內容不了解,請參考以下 :
參考資訊 : Android中shape的使用
參考資訊 : Android Debelopers-Drawable Resources
歡迎轉載,請註明出處。
答案是否定的
以下有 Sample 提供各位參考
首先在 drawable 底下創立相關文件

Gradient 漸層
startColor : 起始顏色
centerColor : 中間顏色
endColor : 結束顏色
angle : 頭尾( 建議 45 度為單位 )
( EX : 90 : 下到上 )
gradient_1.xml
<?xml version="1.0" encoding="utf-8"?>
<shape xmlns:android="http://schemas.android.com/apk/res/android"
    android:shape="rectangle">
    <gradient
        android:startColor="#FFFFFF"
        android:endColor="#55AA00"
        android:angle="90"/>
</shape>
gradient_2.xml
<?xml version="1.0" encoding="utf-8"?>
<shape xmlns:android="http://schemas.android.com/apk/res/android"
        android:shape="rectangle">
    <gradient android:startColor="#0000FF"
              android:centerColor="#CCDDFF"
              android:endColor="#0000FF"
              android:angle="-90" />
</shape>
activity_main.xml
<?xml version="1.0" encoding="utf-8"?>
<LinearLayout xmlns:android="http://schemas.android.com/apk/res/android"
    android:id="@+id/linearLayout_background"
    android:orientation="vertical"
    android:layout_width="fill_parent"
    android:layout_height="fill_parent"
    android:background="@drawable/gradient_1"
    >

    <Button
        android:id="@+id/button1"
        android:layout_width="wrap_content"
        android:layout_height="wrap_content"
        android:text="Button" />

    <Button
        android:id="@+id/button2"
        android:layout_width="wrap_content"
        android:layout_height="wrap_content"
        android:text="Button" />

</LinearLayout>
MainActivity.java
import android.app.Activity;
import android.os.Bundle;
import android.view.View;
import android.view.View.OnClickListener;
import android.widget.Button;
import android.widget.LinearLayout;

public class MainActivity extends Activity implements OnClickListener{

    private LinearLayout linear_background;
    private Button btn01;
    private Button btn02;

    @Override
    protected void onCreate(Bundle savedInstanceState) {
        super.onCreate(savedInstanceState);
        setContentView(R.layout.activity_main);

        linear_background = (LinearLayout)findViewById(R.id.linearLayout_background);
        btn01 = (Button)findViewById(R.id.button1);
        btn02 = (Button)findViewById(R.id.button2);

        btn01.setOnClickListener(this);
        btn02.setOnClickListener(this);

    }

    @Override
    public void onClick(View view) {
        switch(view.getId()){

        case R.id.button1:
            linear_background.setBackgroundResource(R.drawable.gradient_1);

            break;

        case R.id.button2:
            linear_background.setBackgroundResource(R.drawable.gradient_2);

            break;
        }
    }
}
有朋友說為什麼不用
1 . BackgroundDrawable - 不建議使用
2 . Background - 最低版本為 : API 16
int sdk = android.os.Build.VERSION.SDK_INT;
if(sdk < android.os.Build.VERSION_CODES.JELLY_BEAN)
{
    linear_background.setBackgroundDrawable( getResources().getDrawable(R.drawable.gradient_1) );
}
else
{
    linear_background.setBackground( getResources().getDrawable(R.drawable.gradient_1));
}
------------------------------------------------
完成圖 :
gradient_1

gradient_2

如果有關顏色內容不了解,請參考以下 :
參考資訊 : Android中shape的使用
參考資訊 : Android Debelopers-Drawable Resources
歡迎轉載,請註明出處。
Android-TabLayout
如何使用TabLayout
TabLayout of design support library
參考資料 : TabLayout使用setupWithViewPager()方法绑定Viewpager后不显示文字
TabLayout of design support library
// set selected tab
viewPager.setCurrentItem(postion);
tabLayout.getTabAt(postion).select();
參考資料 : TabLayout使用setupWithViewPager()方法绑定Viewpager后不显示文字
Android-Picasso and Glide
Glide.with(mContext).load(_list.get(position)).diskCacheStrategy(DiskCacheStrategy.ALL).placeholder(R.drawable.loading).into(elements.image_cell_action_detail);
參考資料 : Android: Image loading libraries Picasso vs Glide
參考資料 : 如何使用Glide
參考資料 : Glide
------ Glide use bitmap
參考資料 : Glide — Callbacks: SimpleTarget and ViewTarget for Custom View Classes
2015年9月8日 星期二
Android-多國語系開發 Multiple Language
如果要開發多語系的 App


不必再寫一樣的App
與需要將專案內的參數在複製一份
將檔案名稱改成相對應的語系
這樣就能依照使用者的需求直接更改
1 . 注意,請將專案內所有的文字寫在 value -> string 底下
( 這是一種好的習慣,如果只有2-3個頁面,但如果是10個以上,那就會有漏失的風險 )
2 . 複製所有的 value 後更改,將檔案名稱改成對應的語系名稱

3 . 只要手機切換到對應的語系就能得到對應的頁面
中文( 正體字
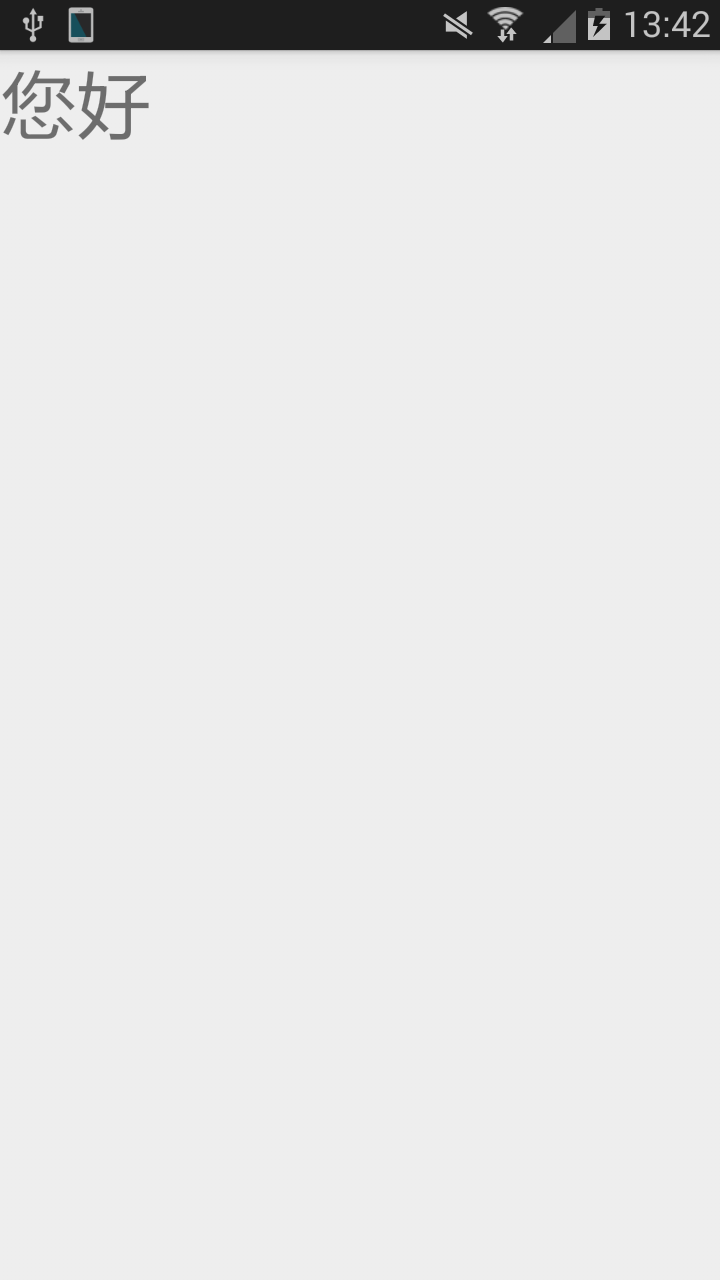
英文( US

其他語系相關資料
歡迎轉載,請註明出處。
Android-Keyboard Listener
@Override
public void onConfigurationChanged(Configuration newConfig) {
    super.onConfigurationChanged(newConfig);

    if (newConfig.hardKeyboardHidden == Configuration.HARDKEYBOARDHIDDEN_NO) {
        Toast.makeText(getActivity(), "keyboard visible", Toast.LENGTH_SHORT).show();
    } else if (newConfig.hardKeyboardHidden == Configuration.HARDKEYBOARDHIDDEN_YES) {
        Toast.makeText(getActivity(), "keyboard hidden", Toast.LENGTH_SHORT).show();
    }
}
用Layout高度判別
@Override
public void onConfigurationChanged(Configuration newConfig) {
    super.onConfigurationChanged(newConfig);

    if (newConfig.hardKeyboardHidden == Configuration.HARDKEYBOARDHIDDEN_NO) {
        Toast.makeText(getActivity(), "keyboard visible", Toast.LENGTH_SHORT).show();
    } else if (newConfig.hardKeyboardHidden == Configuration.HARDKEYBOARDHIDDEN_YES) {
        Toast.makeText(getActivity(), "keyboard hidden", Toast.LENGTH_SHORT).show();
    }
}
2015年9月7日 星期一
訂閱:
文章 (Atom)